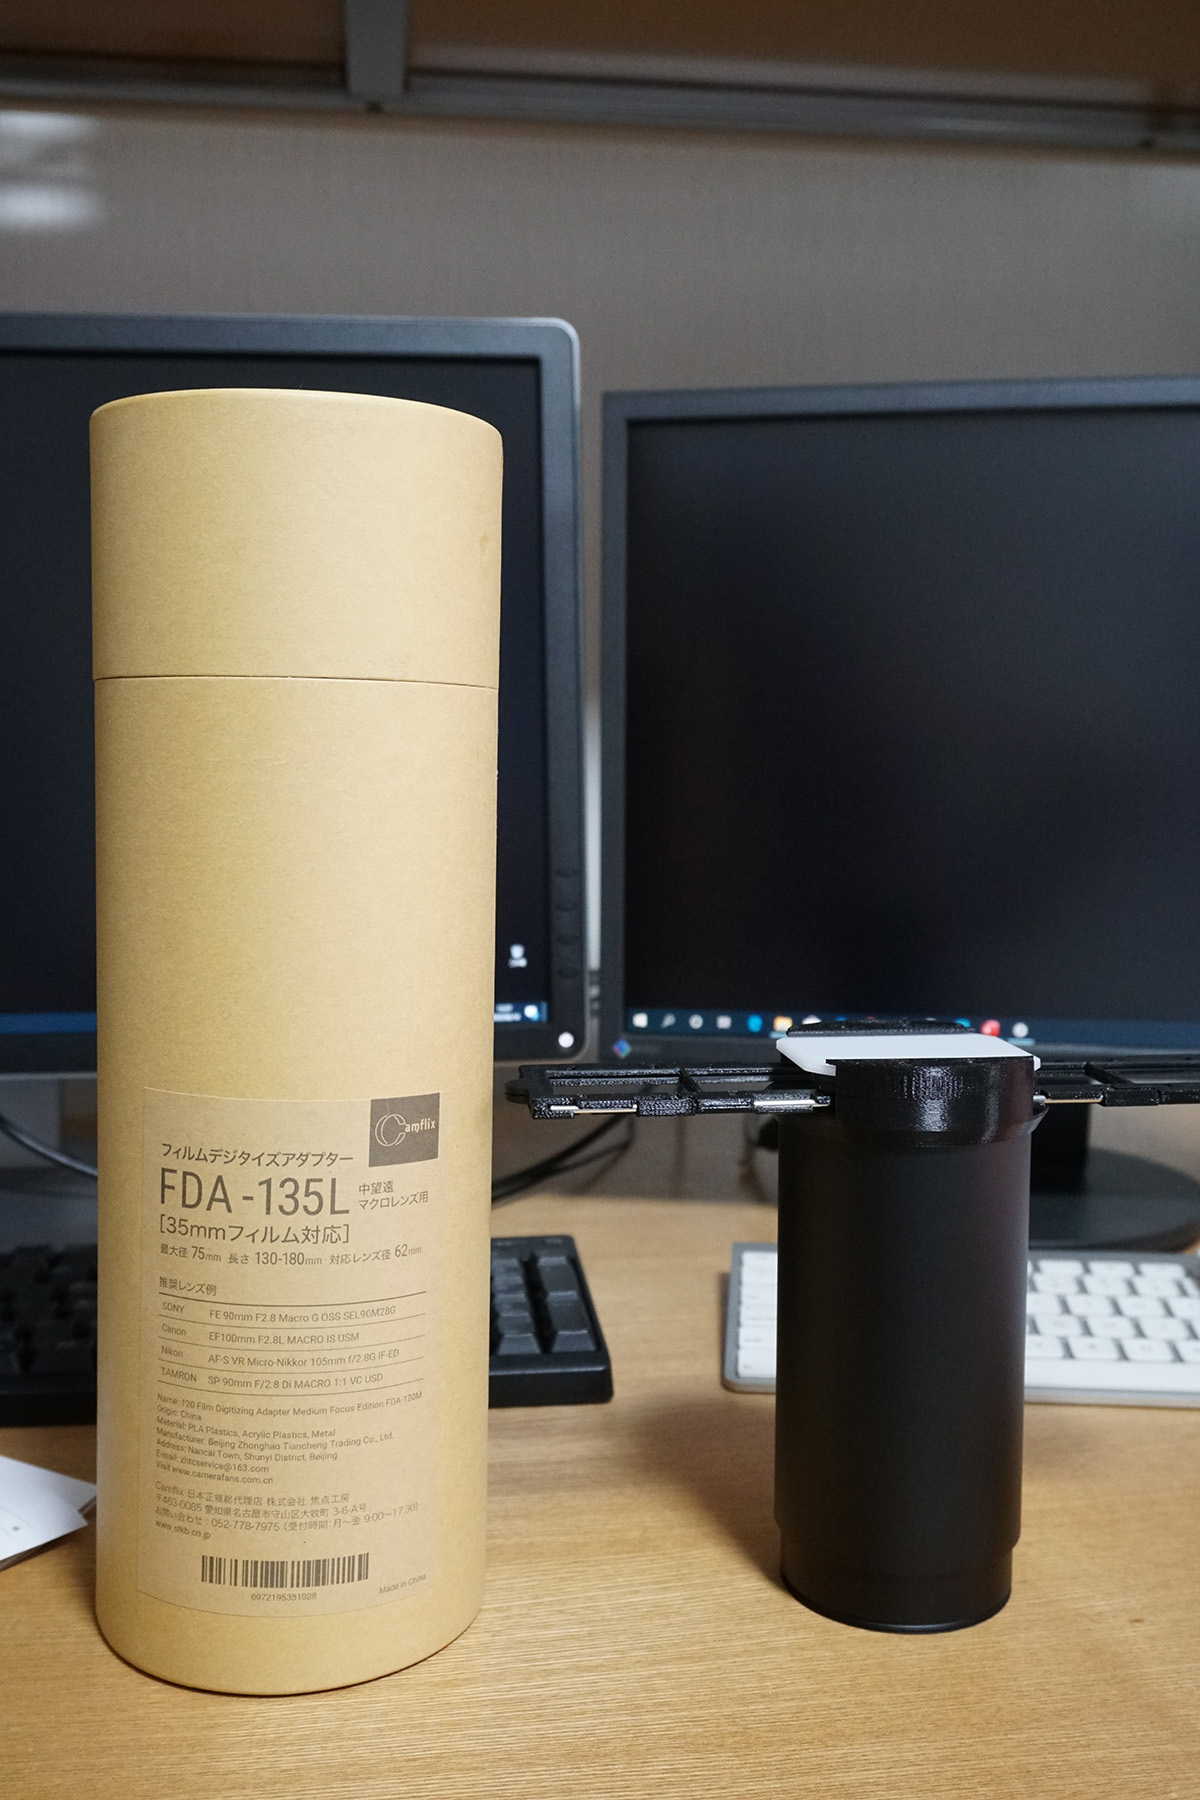
Camflix のフィルムデジタイズアダプターの中望遠レンズ用の FDA-135L を買いました。それまでは Nikon のフィルムスキャナー CoolScan 5000ED を使っていたのですが、いい加減古くなってきたのと、フィルムをスキャンする機会もそんなにないので、断捨離するつもりで購入しました。
セットアップ
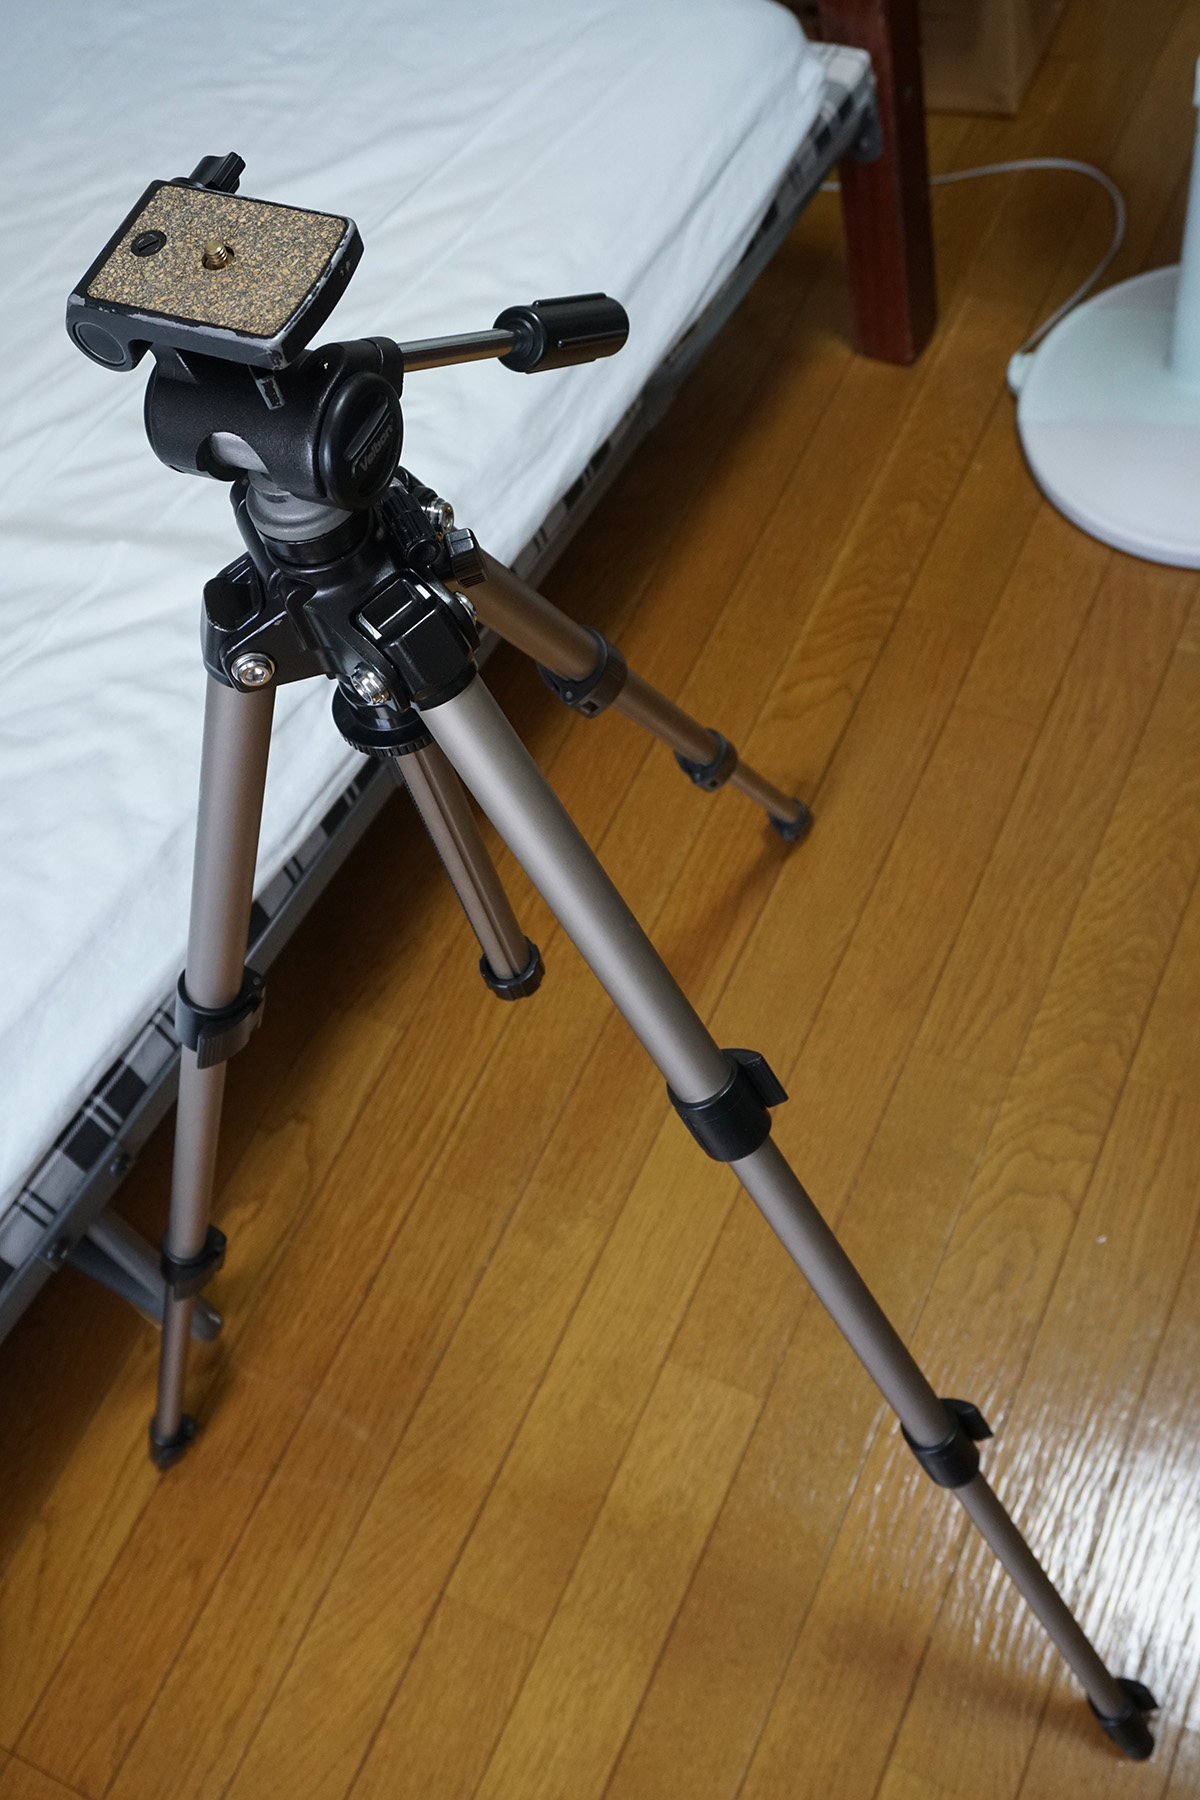
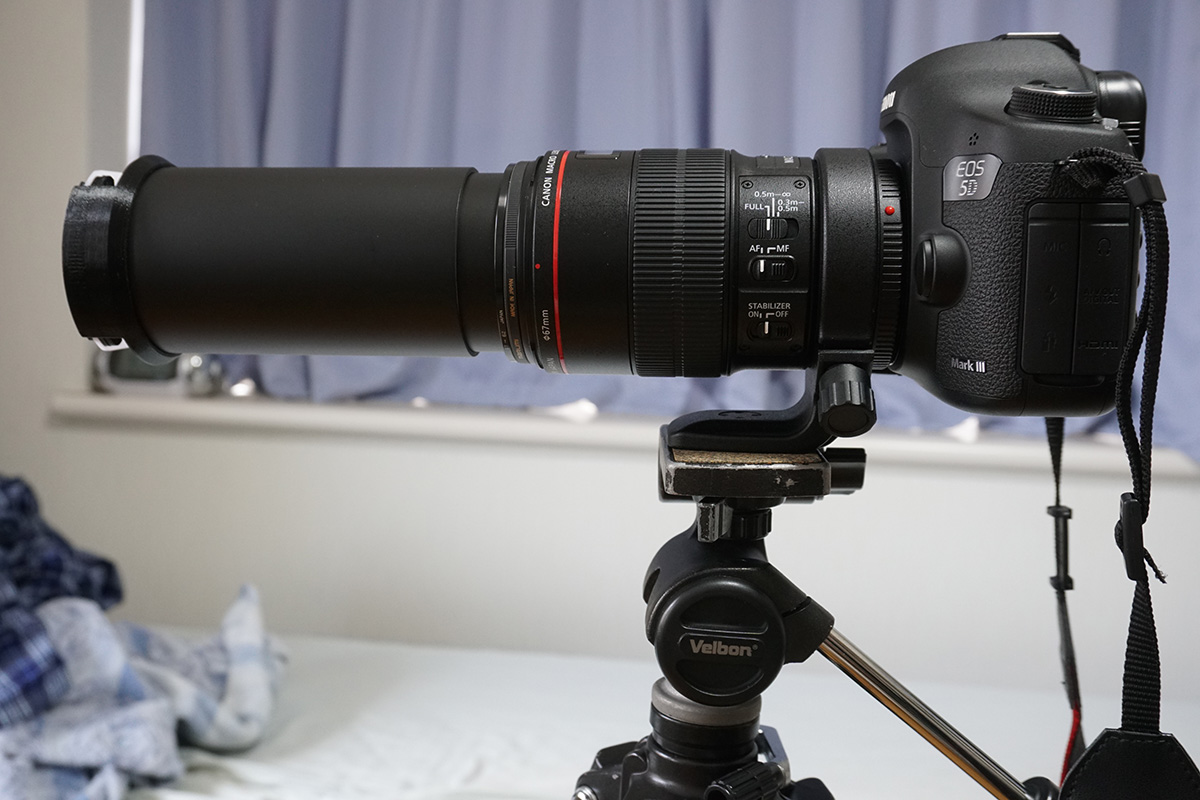
まず三脚を用意します。
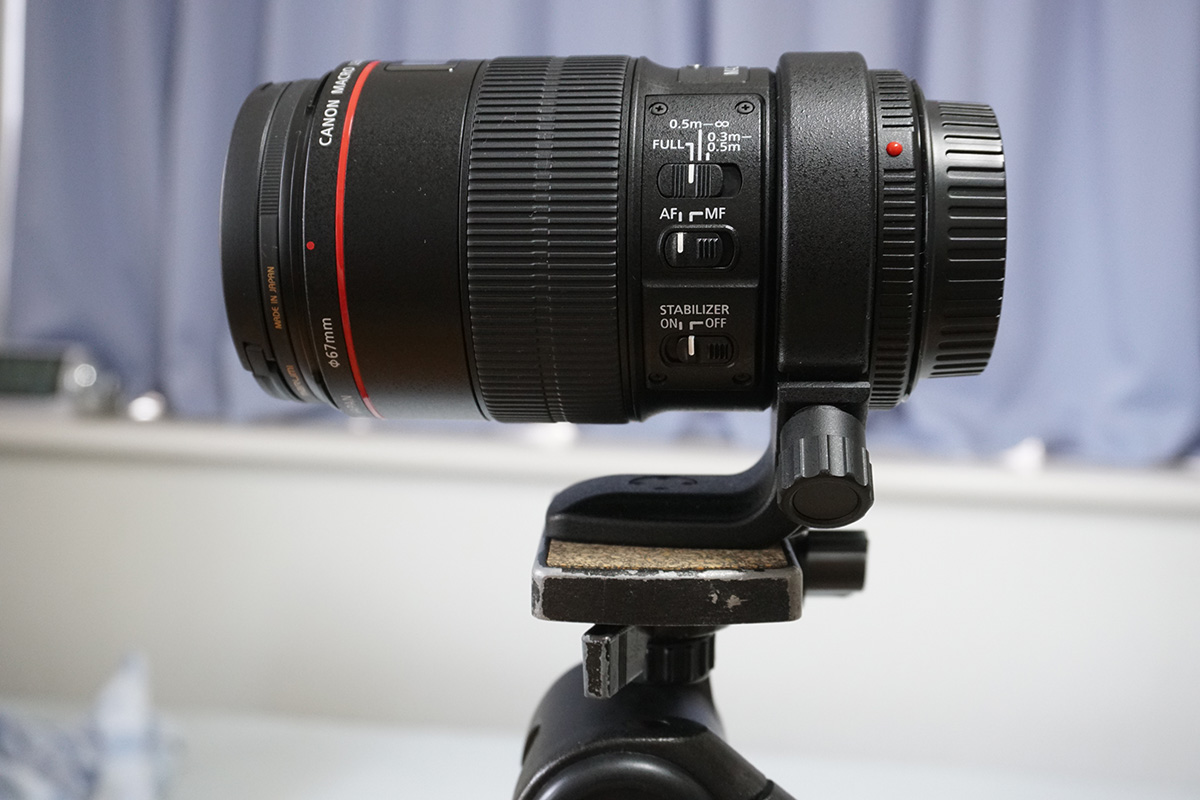
三脚にレンズを付けます。使用するレンズは Canon EF100m F2.8L Macro IS です。
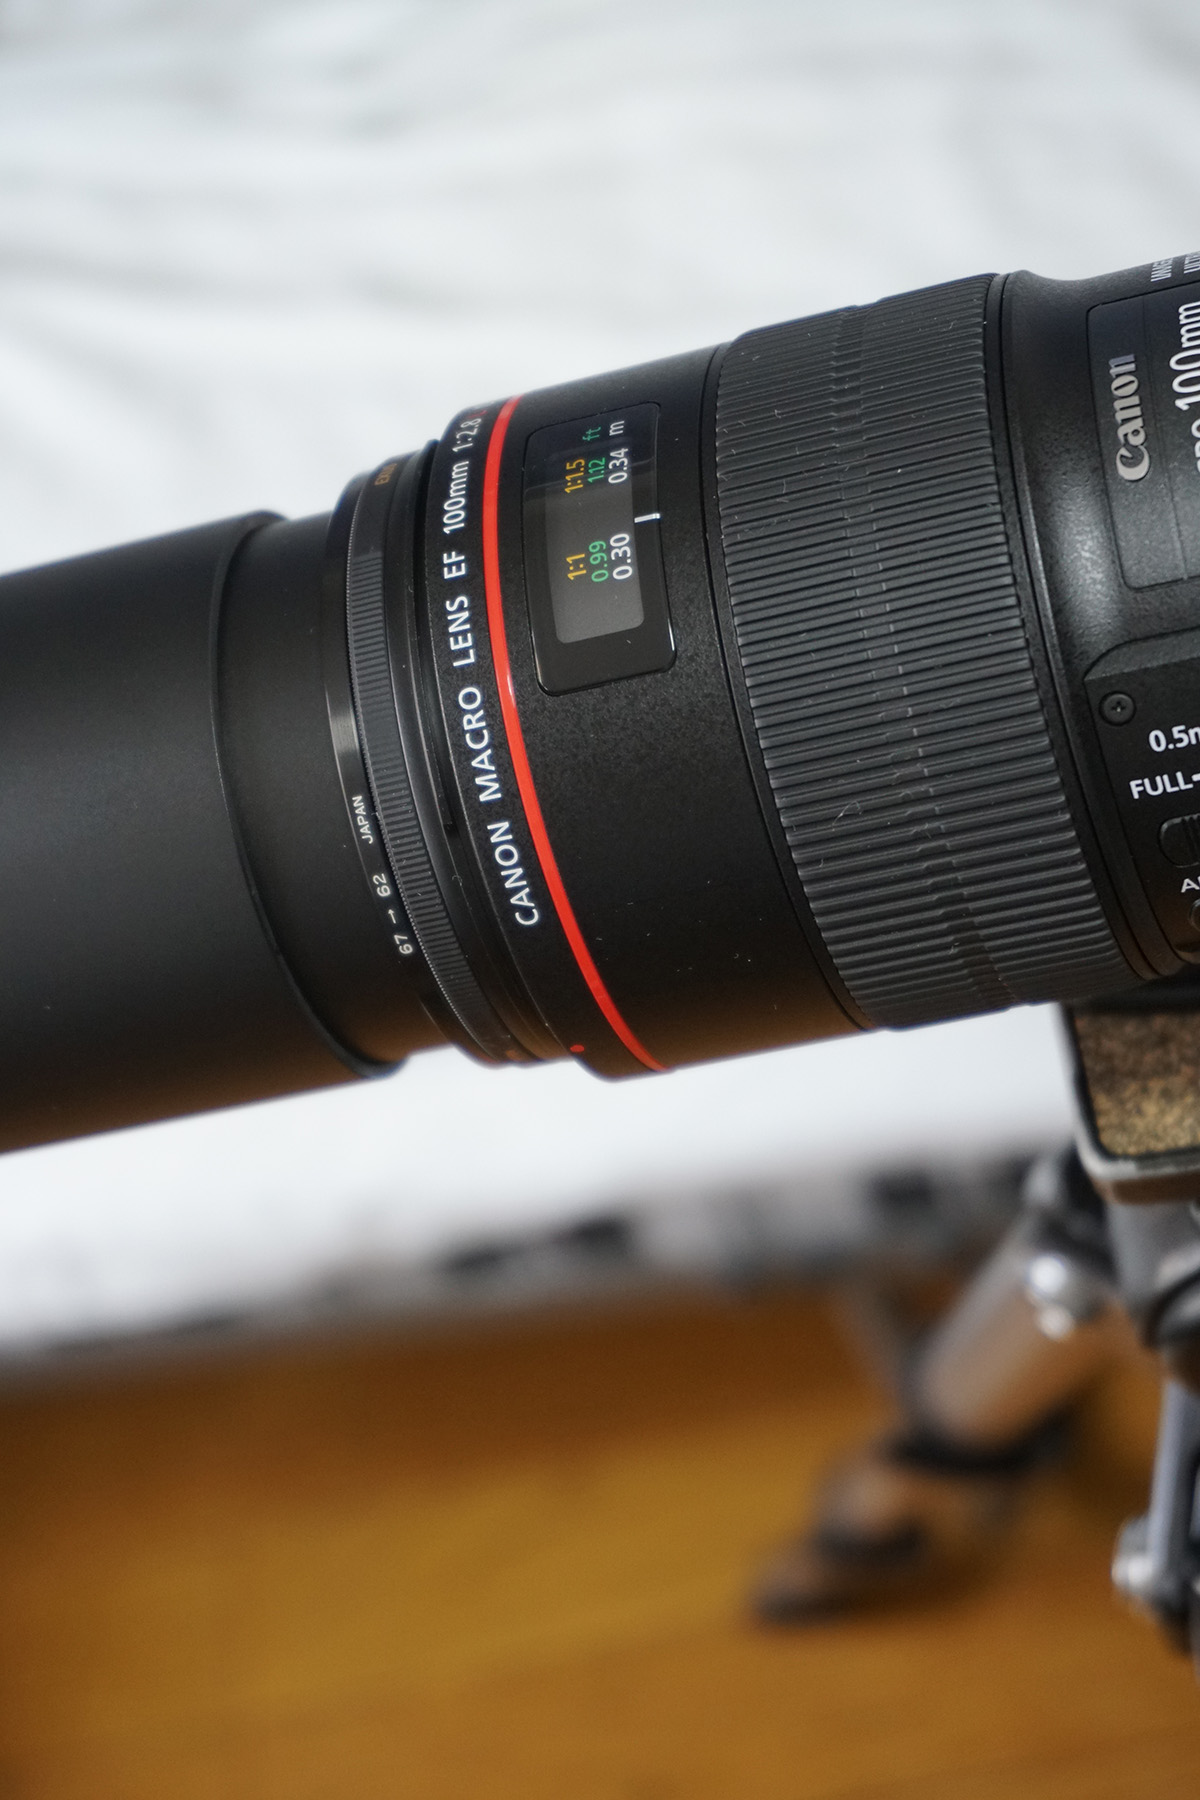
FDA-135L を取り付けます。FDA-135L のフィルター径は 62mm なのに対し、Canon EF100m F2.8L Macro IS のフィルター径は 67mm なのでステップダウンリングが必要です。
カメラを取り付けます。使用するカメラは、Canon EOS 5D Mark III です。
撮影
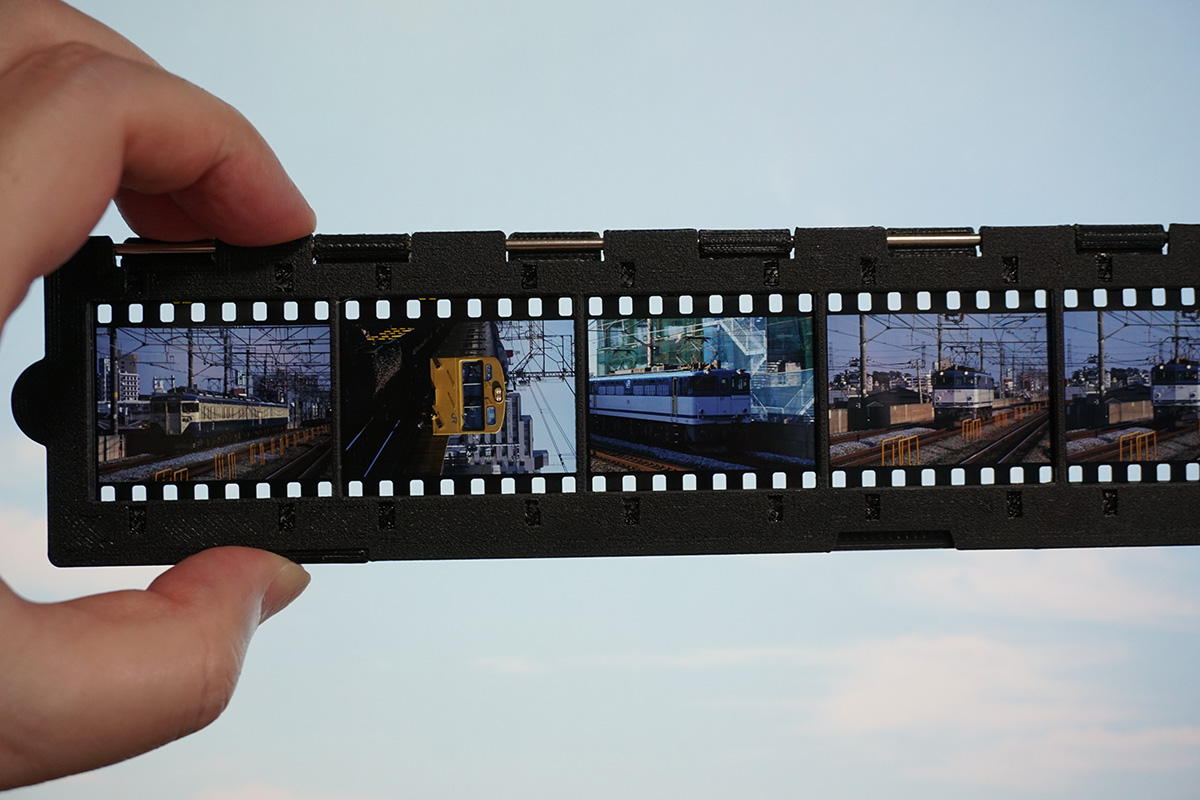
フィルムストリップのアダプターにフィルムを挟み込みます。アダプターは 5 コマなので1コマはみ出ます。
FDA-135L の本体にアダプターを差し込んで、
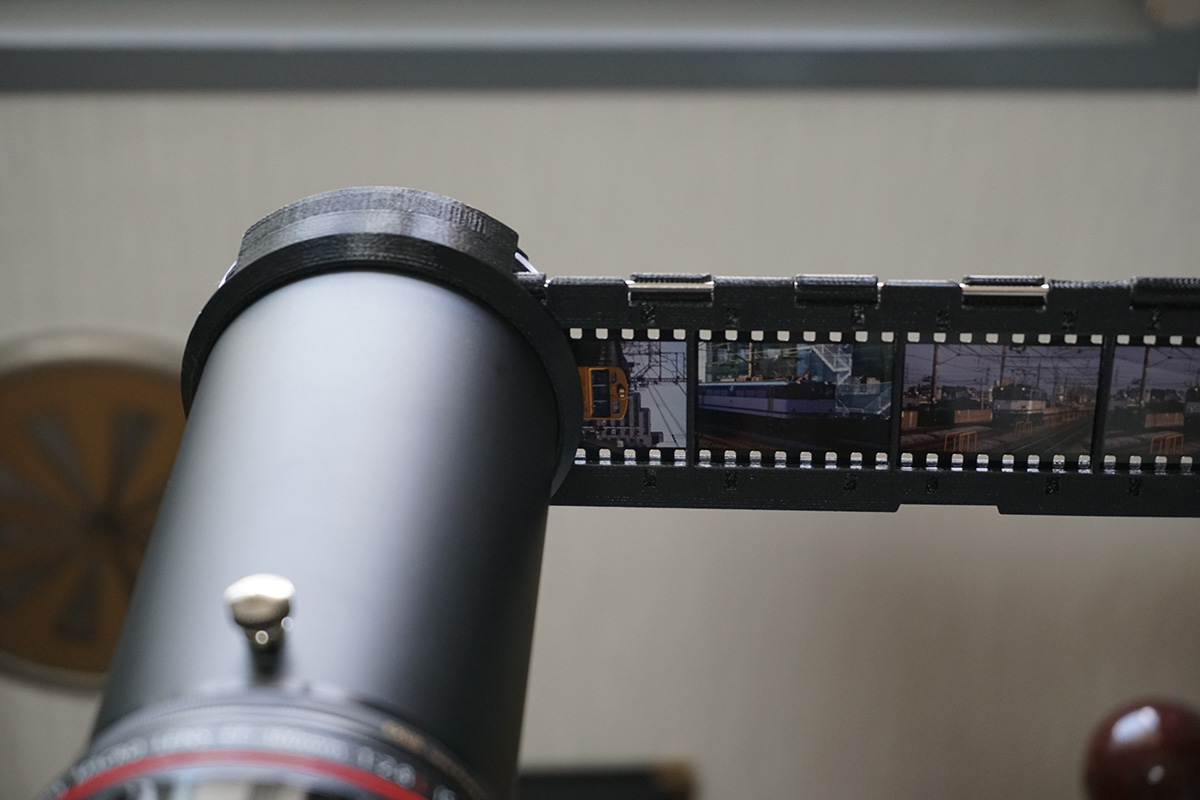
撮影します。FDA-135L は長さが調節できますので、ピントが合う位置まで伸び縮みさせます。光が必要なので窓際で撮影します。
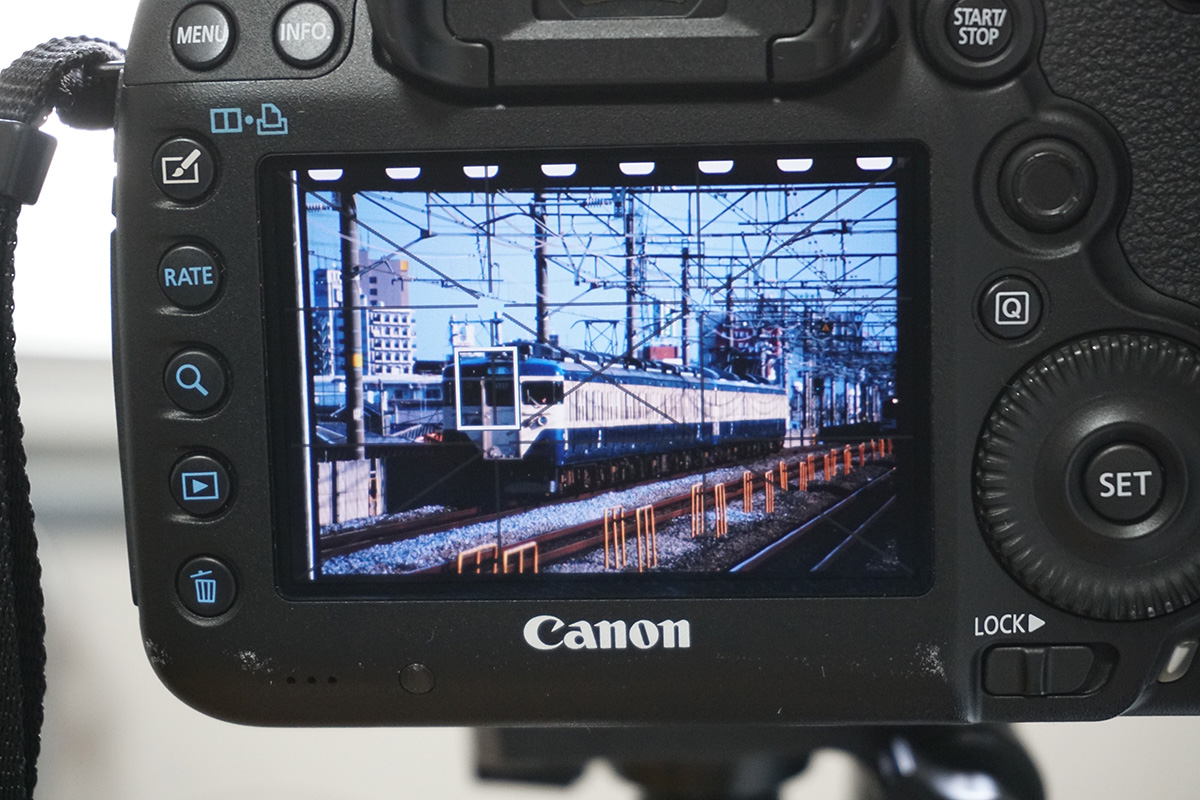
Adobe Bridge で撮影結果をレビューします。EOS Utility を使えば撮影しながらレビューできます。

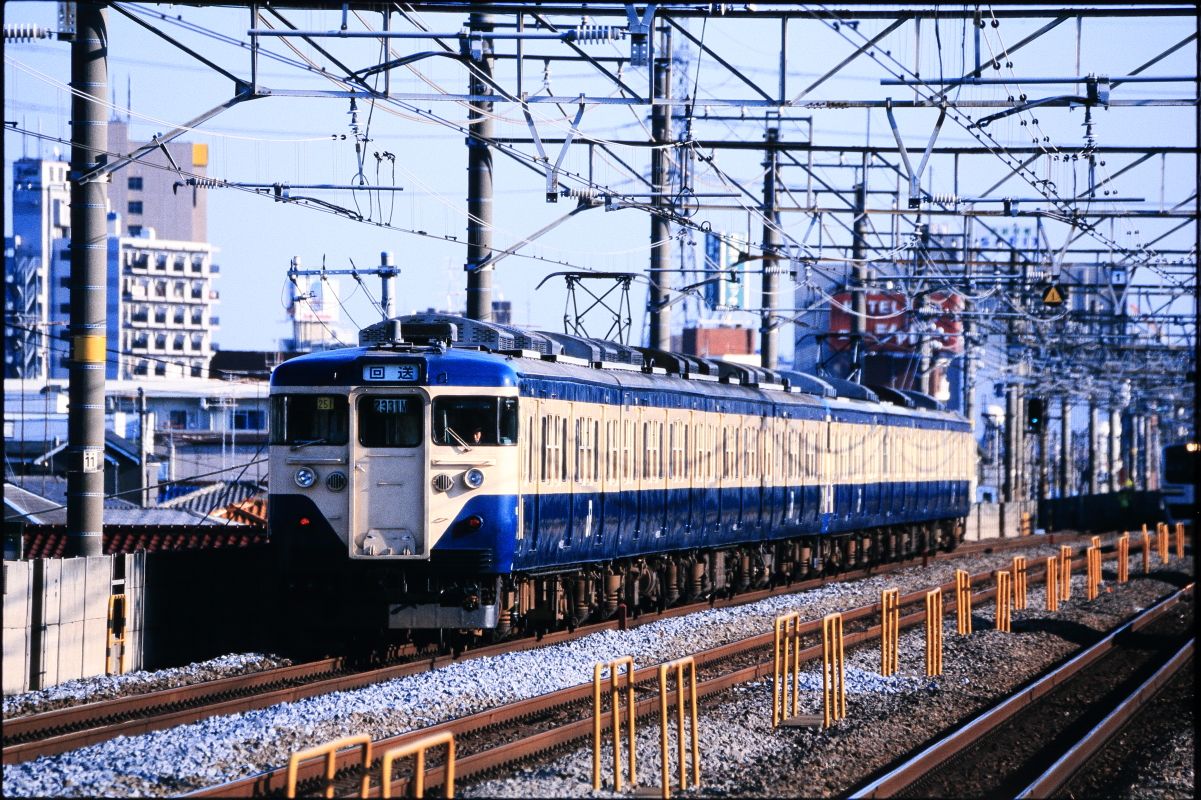
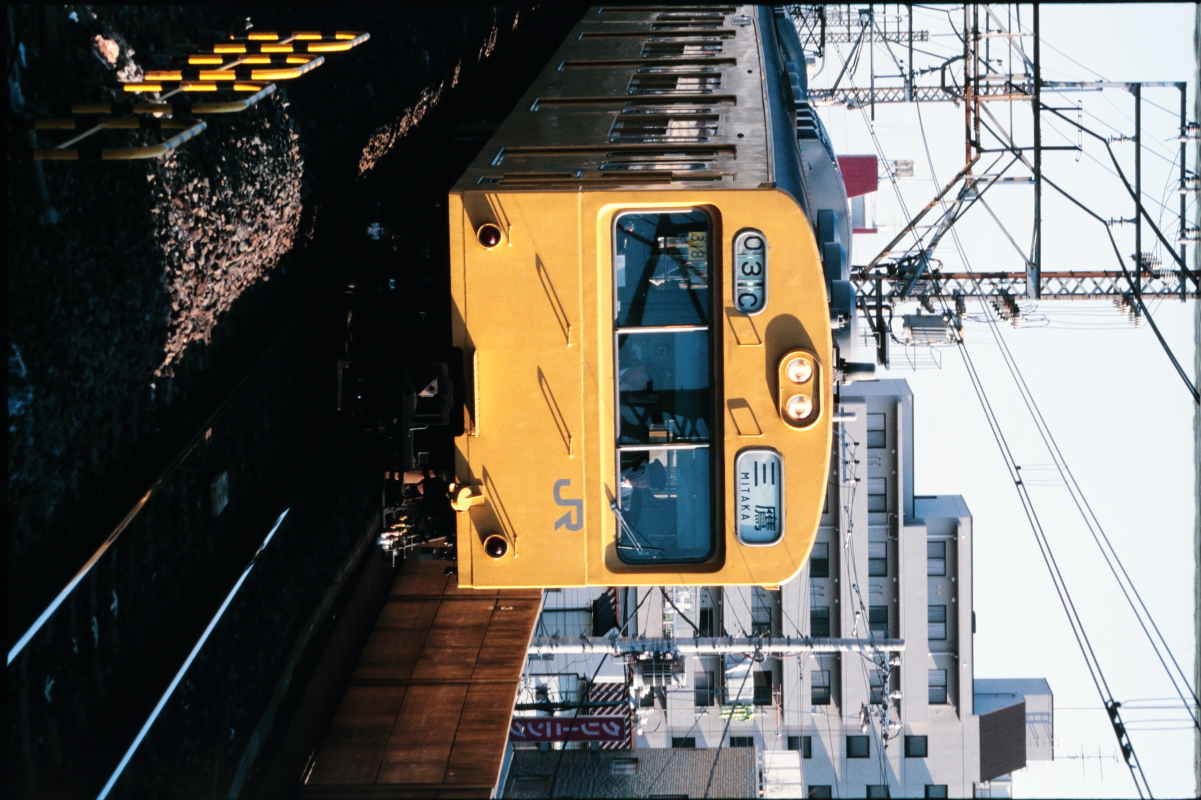
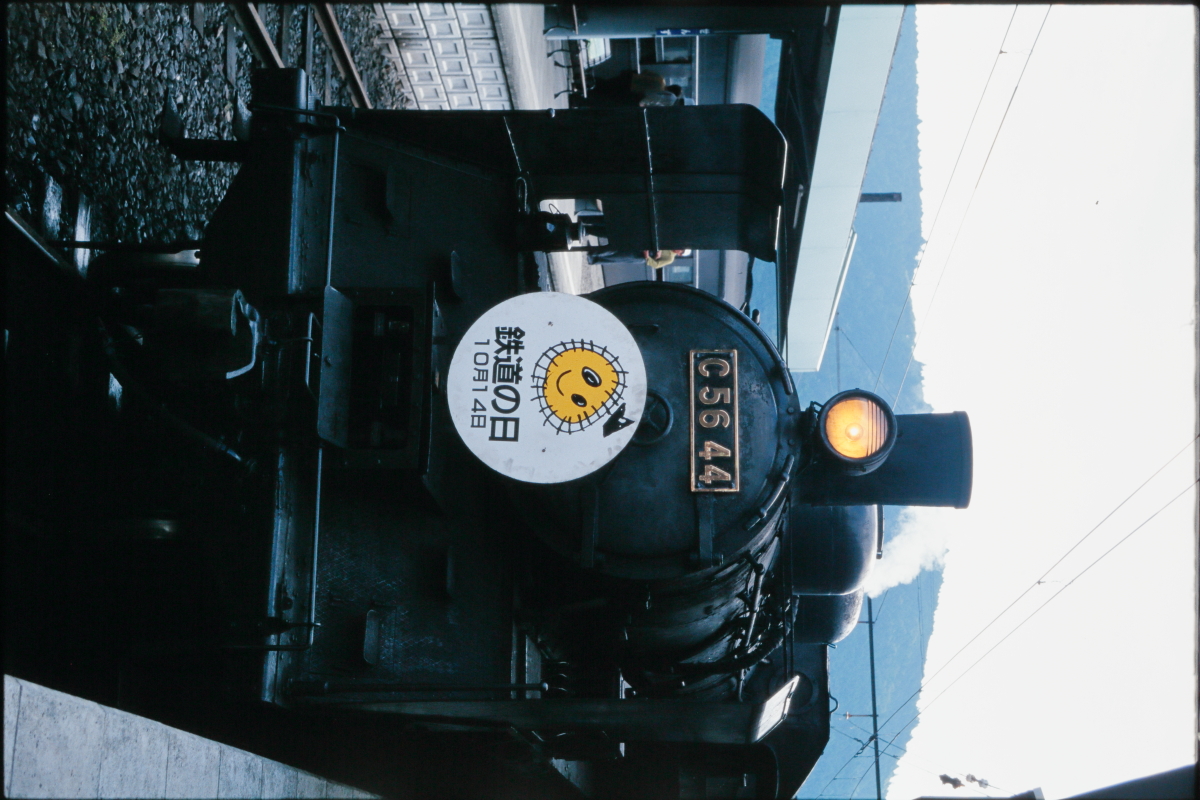
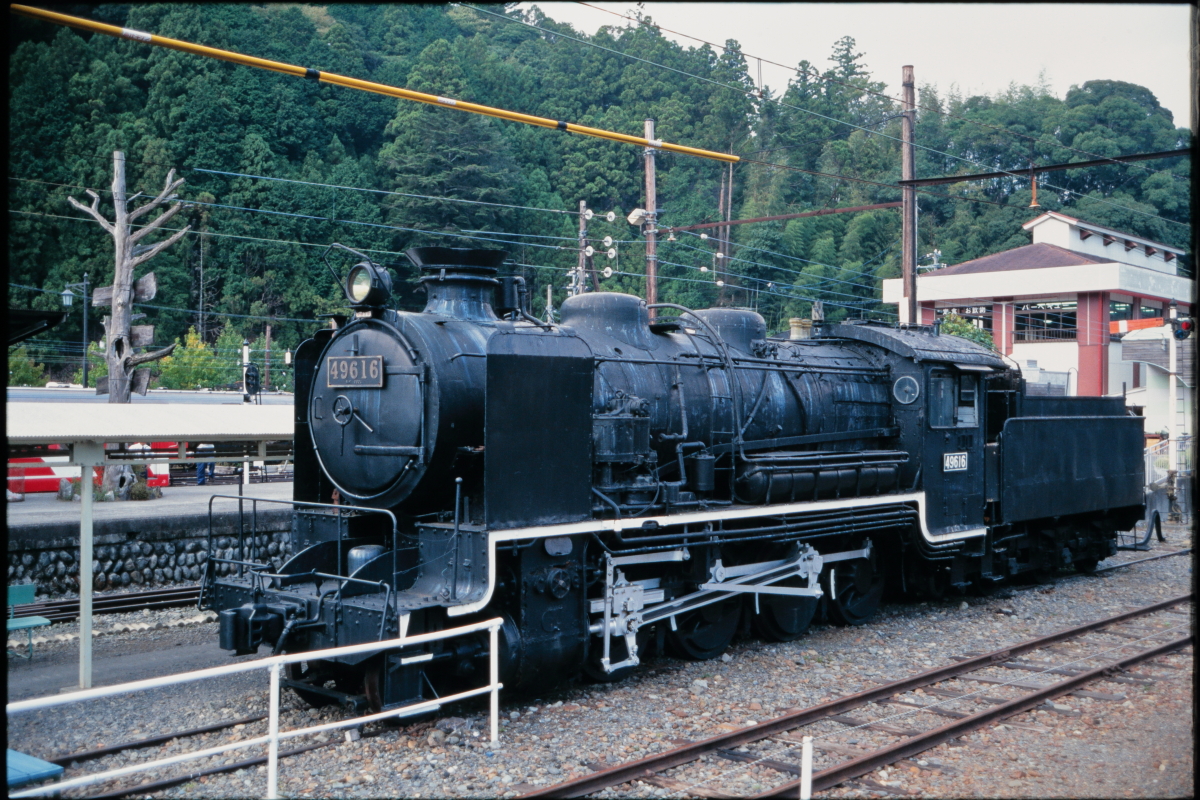
作例
どれもこれも暗いですが、トーンカーブをいじればそれなりに見られるようになります。ライトボックスでフィルムと見比べながらやるのがベターなのですが、面倒なので無調整で出しています。
まとめ
最近はカメラの解像度も上がっており、最近の微妙なフィルムスキャナーを買うよりかはこういうツールを使うほうがきれいにデジタル化できると思います。
ただし、準備が面倒くさいので相当気合を入れないと使わなさそうです。